This is a demo store. No orders will be fulfilled.
Subscription orders can be cancelled at anytime. Standard delivery will be charged on each subscription order. Find out more about subscriptions.
They’re easy and fuss free
Your products are automatically sent to you
You save when you sign up for a subscription
You can cancel at any time


When preparing a bottle for baby, ensure hands, surfaces and the product are thoroughly clean and dry.


Ensure the product has charge and is on a flat and stable surface prior to using.
After approximately 60 seconds the sound will stop, however the air removal cycle will continue for about 3 minutes in total.
Note: Keep the device upright, the air removal cycle will stop if the device is tipped.
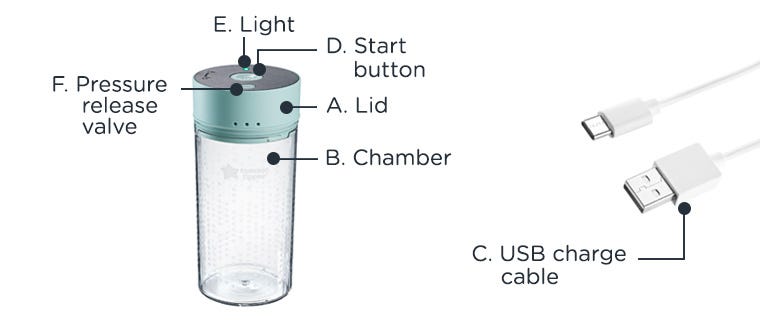
The lid (A) is wipe clean only.
The chamber (B) can be hand washed only with warm soapy water and then rinsed.
DO NOT CLEAN IN THE DISHWASHER, OR STERILISE.
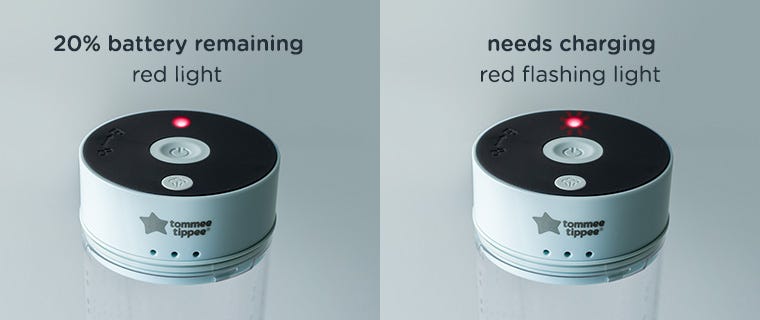
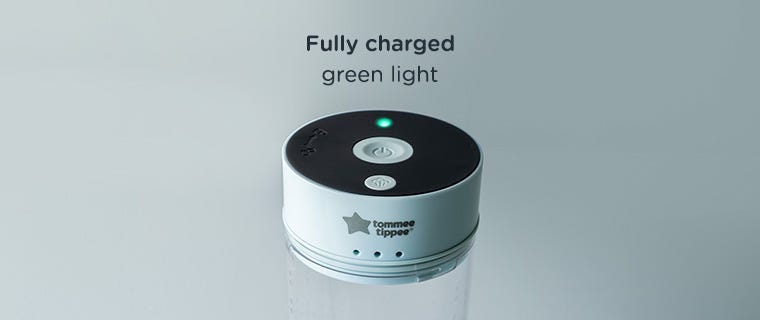
| Light colour | Meaning/Action |
Flashing red light | Charge immediately Device not on a flat surface when in use (Your product will not operate if the device is tilted). Cycle failed, hasn’t reached full pressure |
Static red light | Low battery – 20% or less |
Static green light | Cycle in progress |
Flashing green light | Cycle complete |
Ensure the unit is fully charged, connect the USB cable to a USB adaptor, and plug it in. Once the green light (E) is on, the unit is ready to use. Charging from an empty battery will take approximately 4 hours.
After the air removal cycle has finished (approximately 3 minutes), follow point 6.
Please read and retain the instruction guide for future reference as it includes important information. Adult use only – Keep all components out of the reach of children. Do not allow a child to play with it – It is not a toy.
This appliance is not intended for use by persons (including children) with reduced physical, sensory, or mental capabilities, or lack of experience and knowledge, unless they have been given supervision or instruction concerning use of the appliance by a person responsible for their safety. Children should be supervised to ensure that they do not play with the appliance. This appliance contains batteries that are non-replaceable. WARNING: For the purposes of recharging the battery, only use the detachable supply unit provided with this appliance. Use only with HCX0502-0501000B or JOD-S-050100BS-U-2 supply unit.