new
From:
RSP:
$29.99
Subscription orders can be cancelled at anytime. Free delivery on all subsequent subscription orders. Find out more about subscriptions.
They’re easy and fuss free
Your products are automatically sent to you
You save up to 10% when you sign up for a subscription
You can cancel at any time

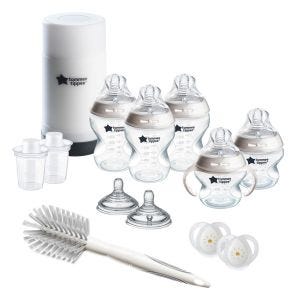
It’s great to see that you’ve purchased a Tommee Tippee Ultra UV 3 in 1 UV sterilizer, dryer and storage unit.
To help you get started and to keep it working effectively, we’ve added all the guidance you should need, plus some handy hint, tips and troubleshooting advice.
This sterilizer is designed for use with Tommee Tippee bottles and feeding accessories (except the bottle brush) and holds a maximum of 6 Tommee Tippee bottles or a combination of fewer bottles plus soothers and breast pump parts.
Please remember…
Always use the sterilizer on a flat heat resistant surface and keep it away from inflammables and explosives.
Parts Guide
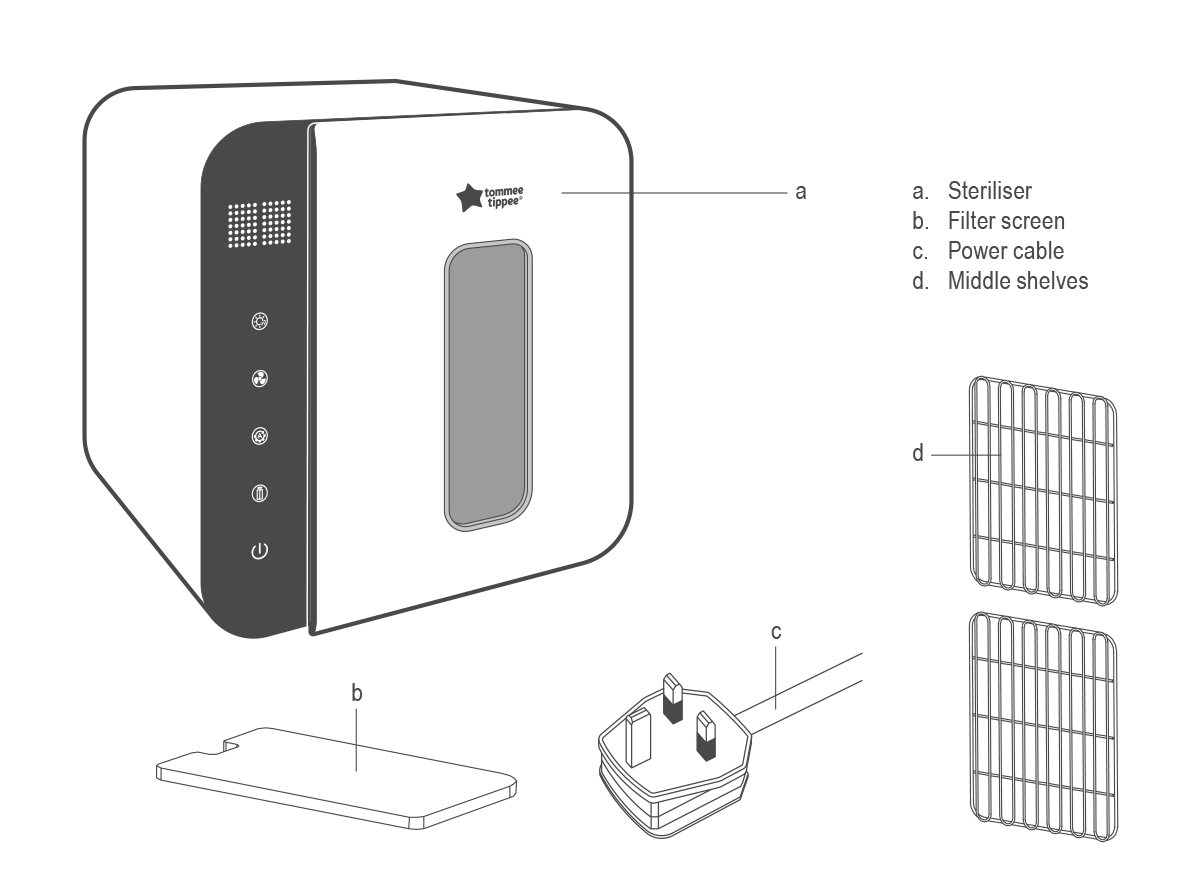
Setting up your Ultra UV 3-in-1 UV Sterilizer for the first time
Please clean your sterilizer before first use and don’t connect to the power at this stage.
What can I sterilize in my Ultra UV 3-in-1 UV Sterilizer?
We recommend that the following items are sterilized from birth…
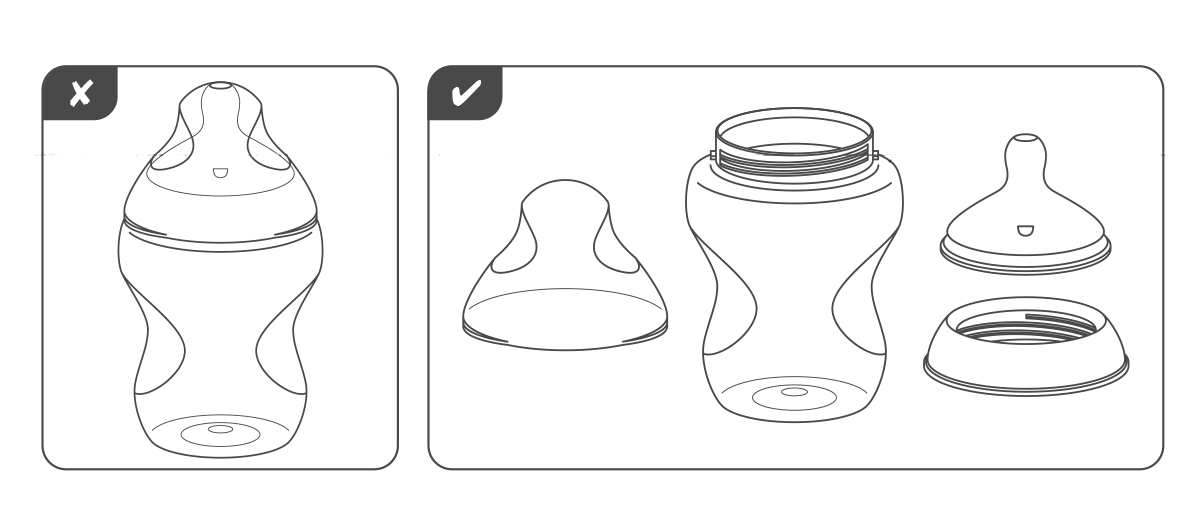
How to use your Ultra UV 3-in-1 UV Sterilizer
Please note…
Ultra UV 3-in-1 UV Sterilizer Functions

Sterilize Only
Press this button once for 35 minutes sterilization and twice for 45 minutes sterilization.

Dry Only
Press this button once for 30 minutes drying, twice for 40 minutes drying and three times for 50 minutes.

Auto Mode
Press this button to start a drying then sterilizing cycle for 60 minutes in total, drying only first for 25 minutes then sterilizing and drying for 35 minutes.

Storage
Press this button alongside any of the functions above to allow items to be stored in the sterilizer. The sterilizer will run a programme that emits 5 minutes of UV light and 5 minutes of drying every 2 hours, to ensure items inside remain sterile. You can open the door and remove one product, then press the storage button again to keep the remaining items inside sterile.

Power ON/OFF
Press this button to switch the sterilizer on and off.
Ultra UV 3-in-1 UV Sterilizer Troubleshooting
Ultra UV 3-in-1 UV Sterilizer FAQs
Can I turn off the button sounds?
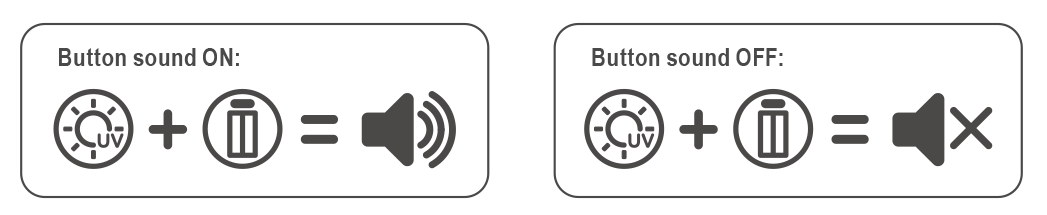
An alert sounds when you press any of the buttons and when you open or close the door. You can turn off the sound on the buttons but not when you open or close the door.
Why do I have to position my sterilizer away from the wall?
We recommend a 4 inches gap to allow for ventilation, this protects your work surfaces and the unit.
If I leave my bottles in storage mode, how long will they remain sterile for?
In storage mode the sterilizer will sterilize and dry the product every 2 hours, until the sterilizer is switched off with the power off button.
How often should I rinse the sponge filter?
This very much depends on your environment. We would recommend that you wash or replace your sponge filter when you start to notice any dust build up on the sponge, make sure you check the sponge filter regularly.
I’ve lost/damaged my sponge filter – where can I get a replacement?
You get a spare sponge filter with the product; you can use this spare if you have lost or damaged the original sponge filter.
How long will the UV Light Bulb last?
Your Philips G4 TUV 4W T5 bulb will last 6,000 hours before it needs replacing.
Cleaning & Maintenance
You do not need to carry out any maintenance to this product other than cleaning, and descaling is not necessary.
We recommend that you clean your sterilizer regularly, every 1-2 days to maintain its performance. To do so, follow these three simple steps…
Remember…
How to replace the filter screen on your Ultra UV 3-in-1 UV Sterilizer
Change the filter regularly, you can replace using the spare filter sponge provided and reusing filters by rinsing with warm water and allowing to air dry.

How to change the UV light bulb in your Ultra UV 3-in-1 UV Sterilizer
First…
Then…
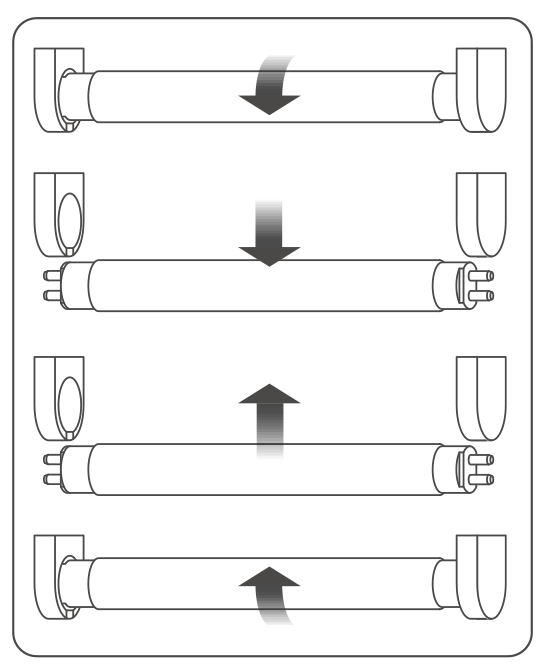
Please note…
If you have any more questions or need some help using your Ultra UV 3-in-1 UV Sterilize, please don’t hesitate to contact us.